the “Quilt as Desired” conundrum
Here’s a scenario that may be familiar to you:
You’ve spent hours working on a quilt top. You picked a pattern or created a design on our own. You selected the fabrics, whether new, upcycled, thrifted, or from your existing stash. You cut and sewed all the pieces (and possibly spent some quality time with your seam ripper, “unsewing” as well) and VOILA! You’re done!
But not really. 🫠
Now you have to get from quilt top to finished quilt. Quilting serves a functional purpose: holding together the layers (top, batting, backing) of your quilt AND it can serve an aesthetic purpose as well, enhancing the piecing and/or acting as its own design element. Depending on your experience and available time, you may relish this prospect, or you may hear the sad trombone womp-womp sound in your head.
Most patterns (my own included!) leave you off with best wishes and the encouragement to “quilt as desired” - this blog post is here to give you a little more guidance and inspiration to take that next step!
NOTE: this blog post is exclusively about machine quilting. Hand quilting is a wonderful choice for many people and many quilts, but that art is not addressed here 😊
Do you need to quilt it?
First: Does it need to be quilted?
If it’s a small project like a pillow cover or a block you’ll add to a tote or item of clothing, you might decide you don’t need or want to quilt it. If you feel like you need permission, I am giving it to you!
Second: Do YOU need to be the one that quilts it?
I know several people who adore creating quilt tops, but find zero joy in the quilting (and, let’s face it, basting) process, so they hire a longarmer to do the quilting for them. I’ve had a couple of my own quilts quilted by my friend Carrie of Lovebug Longarming - projects that had too tight a deadline for me to do, or that I wanted a pantograph for.
What’s a pantograph? It’s a repeating motif that goes from one edge of the quilt to the other. They range from simple to very complex!
If you decide to go with a longarm quilter, communication is crucial to make sure you are happy with the final outcome. Longarm quilting does require larger backings than we might squeak by with on a domestic machine. Some longarmers also offer services like piecing backings and adding binding!
One huge bonus if you employ a longarmer: NO BASTING!
Design considerations
If you work with a longarmer, they are likely a great resource for ideas about design, density, batting, and thread weight. If you’re quilting your project yourself, read on!
Deciding on quilting design(s) and motif(s): get a big-picture view of your quilt. Is it a busy quilt with lots of colors and pieces, or is it more minimalist? Are there areas with a lot of background/negative space? Is it full of angles and straight lines, or does it have lots of curves, or both? Does it have a central design element or is it more of an allover pattern?
Once you’ve considered these aspects of your quilt top, then you can start to work on a quilting plan. I always at least start with a quilting plan, even though I may not stick with it for the whole project. It helps me get started with confidence! There are a few different ways to do this. The most accessible is probably the good old pencil & paper technique - I’ll often print out a photo (in greyscale, no need to waste the printer ink!) and either sketch some ideas right on top, or use a piece of tracing paper on top if I’ve got a few different ideas to test out. Some folks will put their photo or drawing of the quilt top in a clear sheet protector and then use a wet-erase marker to test out some options. If you’ve got an iPad and Apple Pencil or other stylus, you can do some digital sketching - I open up a photo of the quilt top in Procreate and then use the layers tool to sketch out different options.
Ok, back to the plan itself!
If you’ve got a visually busy or bold quilt, you may want to go with really simple straight or wavy lines, or grid quilting so that the quilting doesn’t detract from your amazing piecing. With simpler quilt designs, you might want to get a little more detailed with your quilting. With a really angular quilt, it can be nice to soften the look up a bit with some gentle curves (and vice versa). BUT! The only rules are the ones you make.
Did you catch that?
The only rules are the ones you make.
Again, if you need permission to do really simple quilting on a really simple quilt: I’m giving it to you (but you don’t need it 😉)!
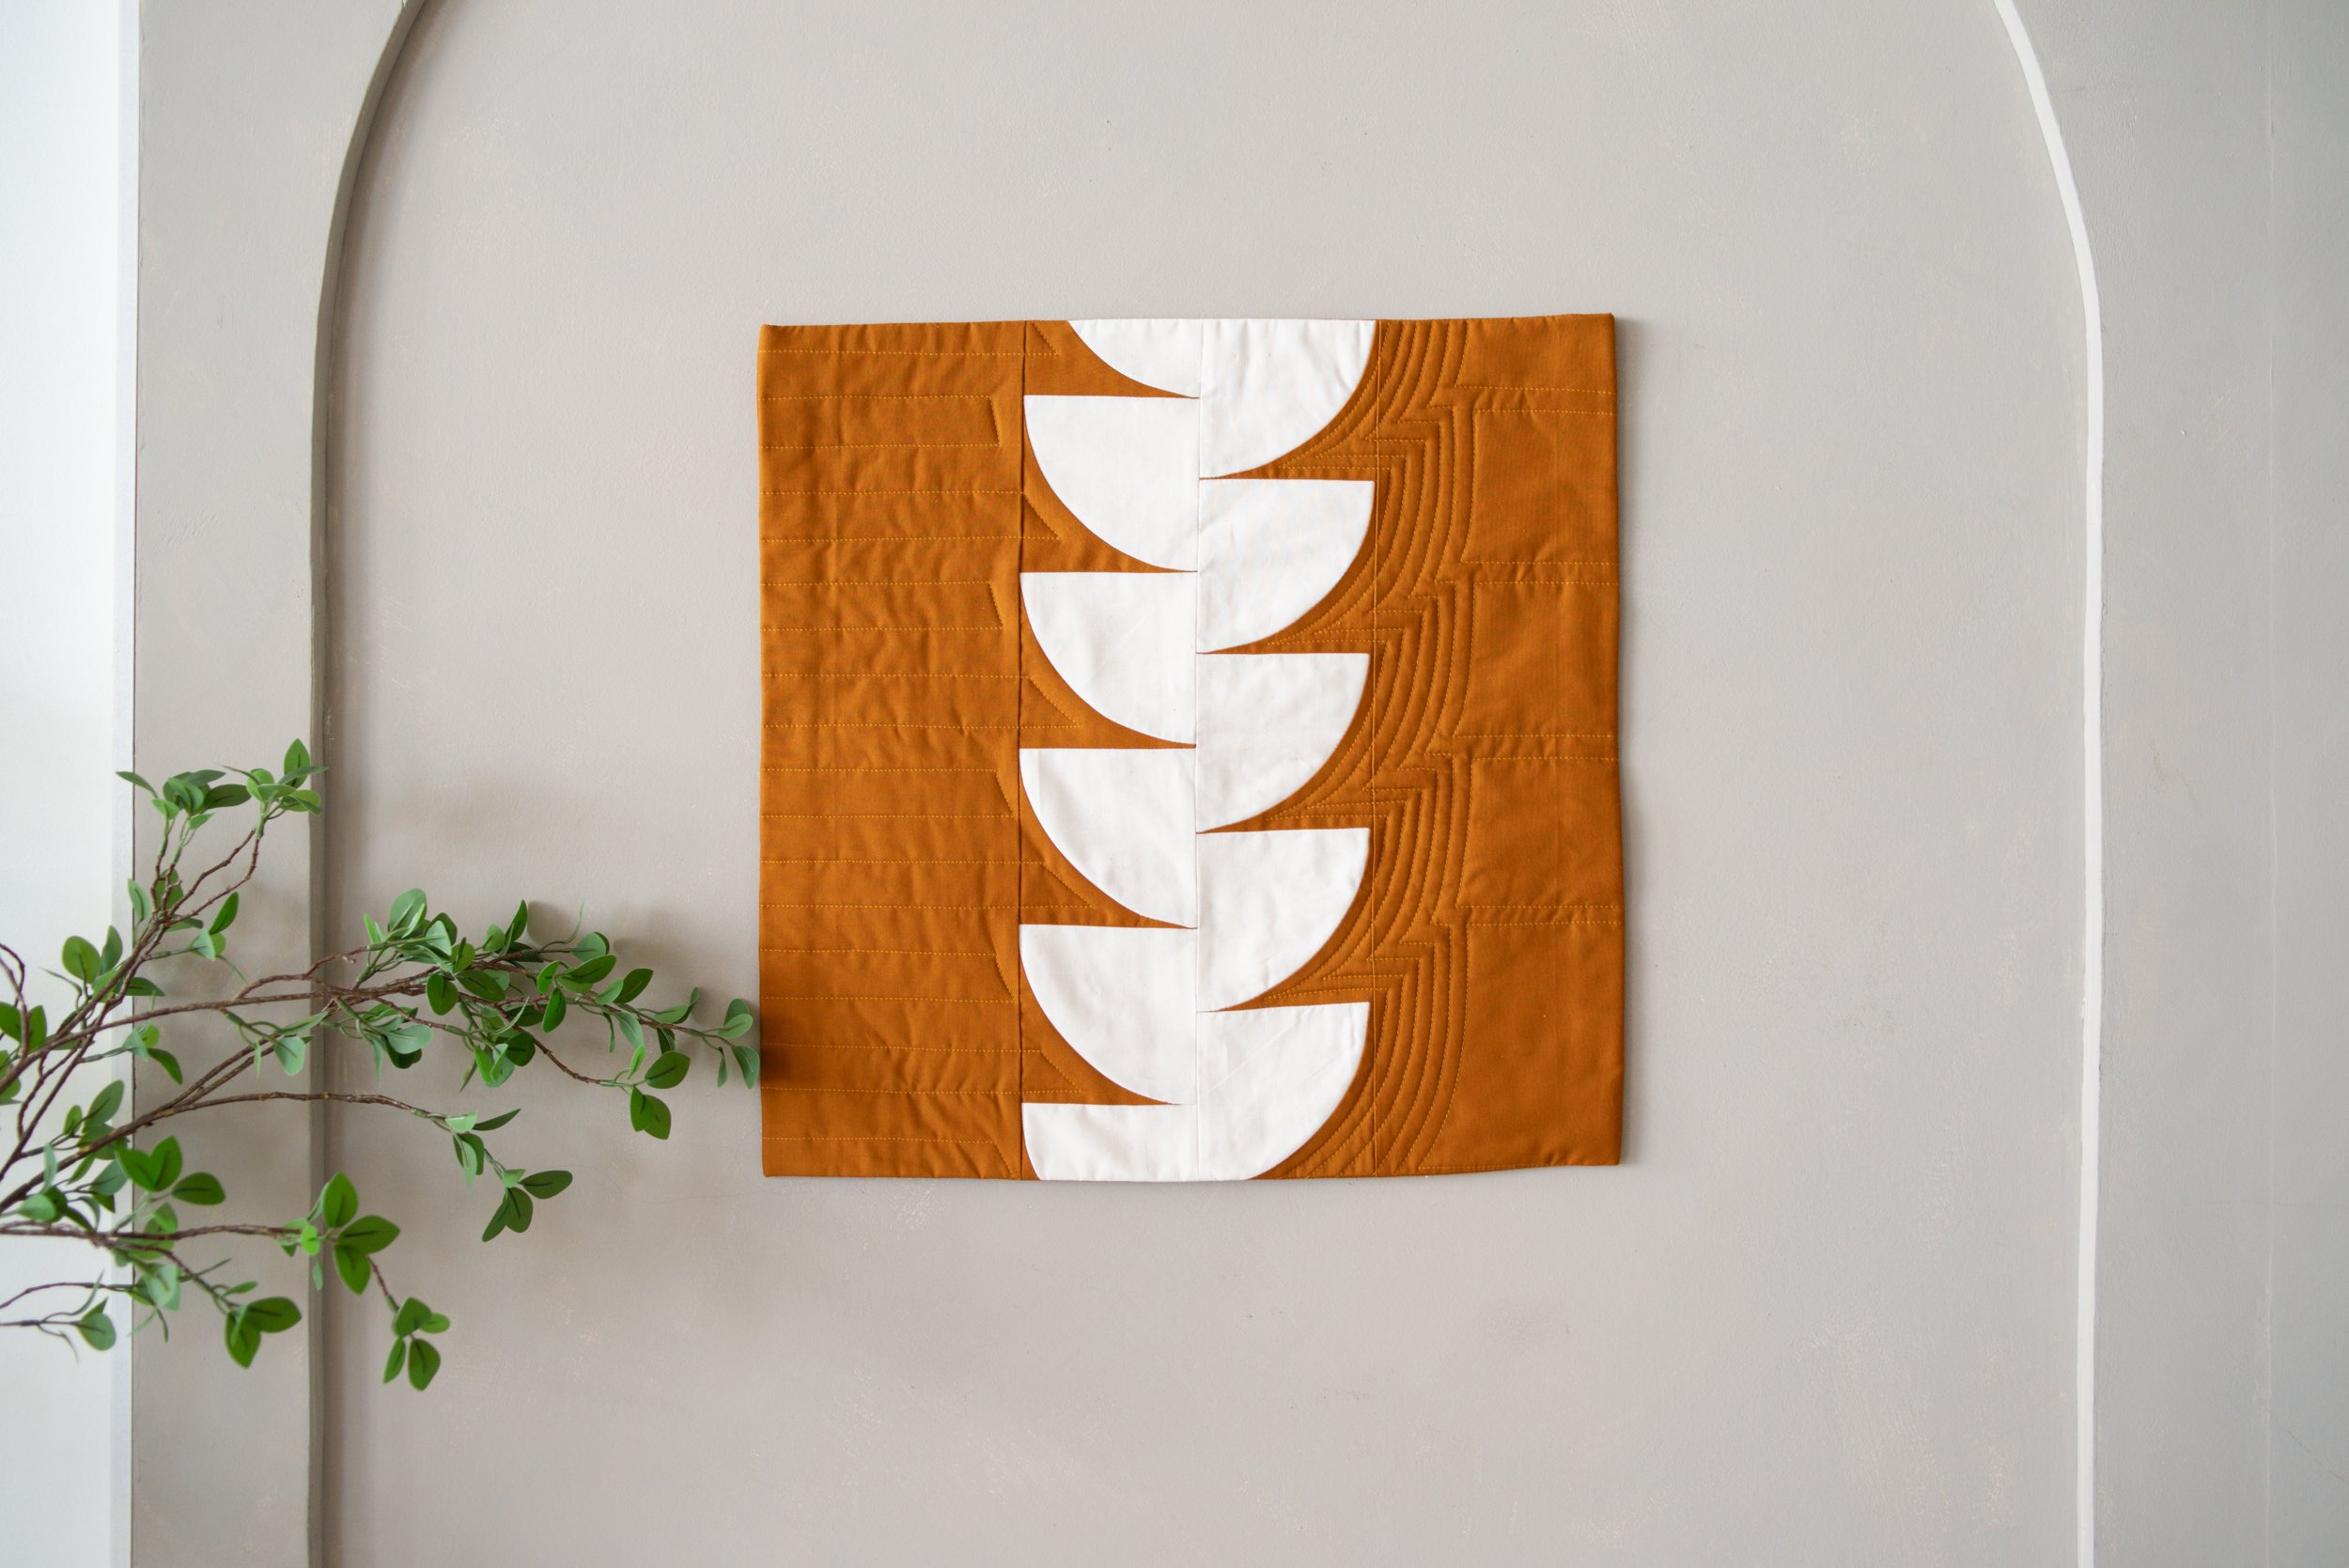
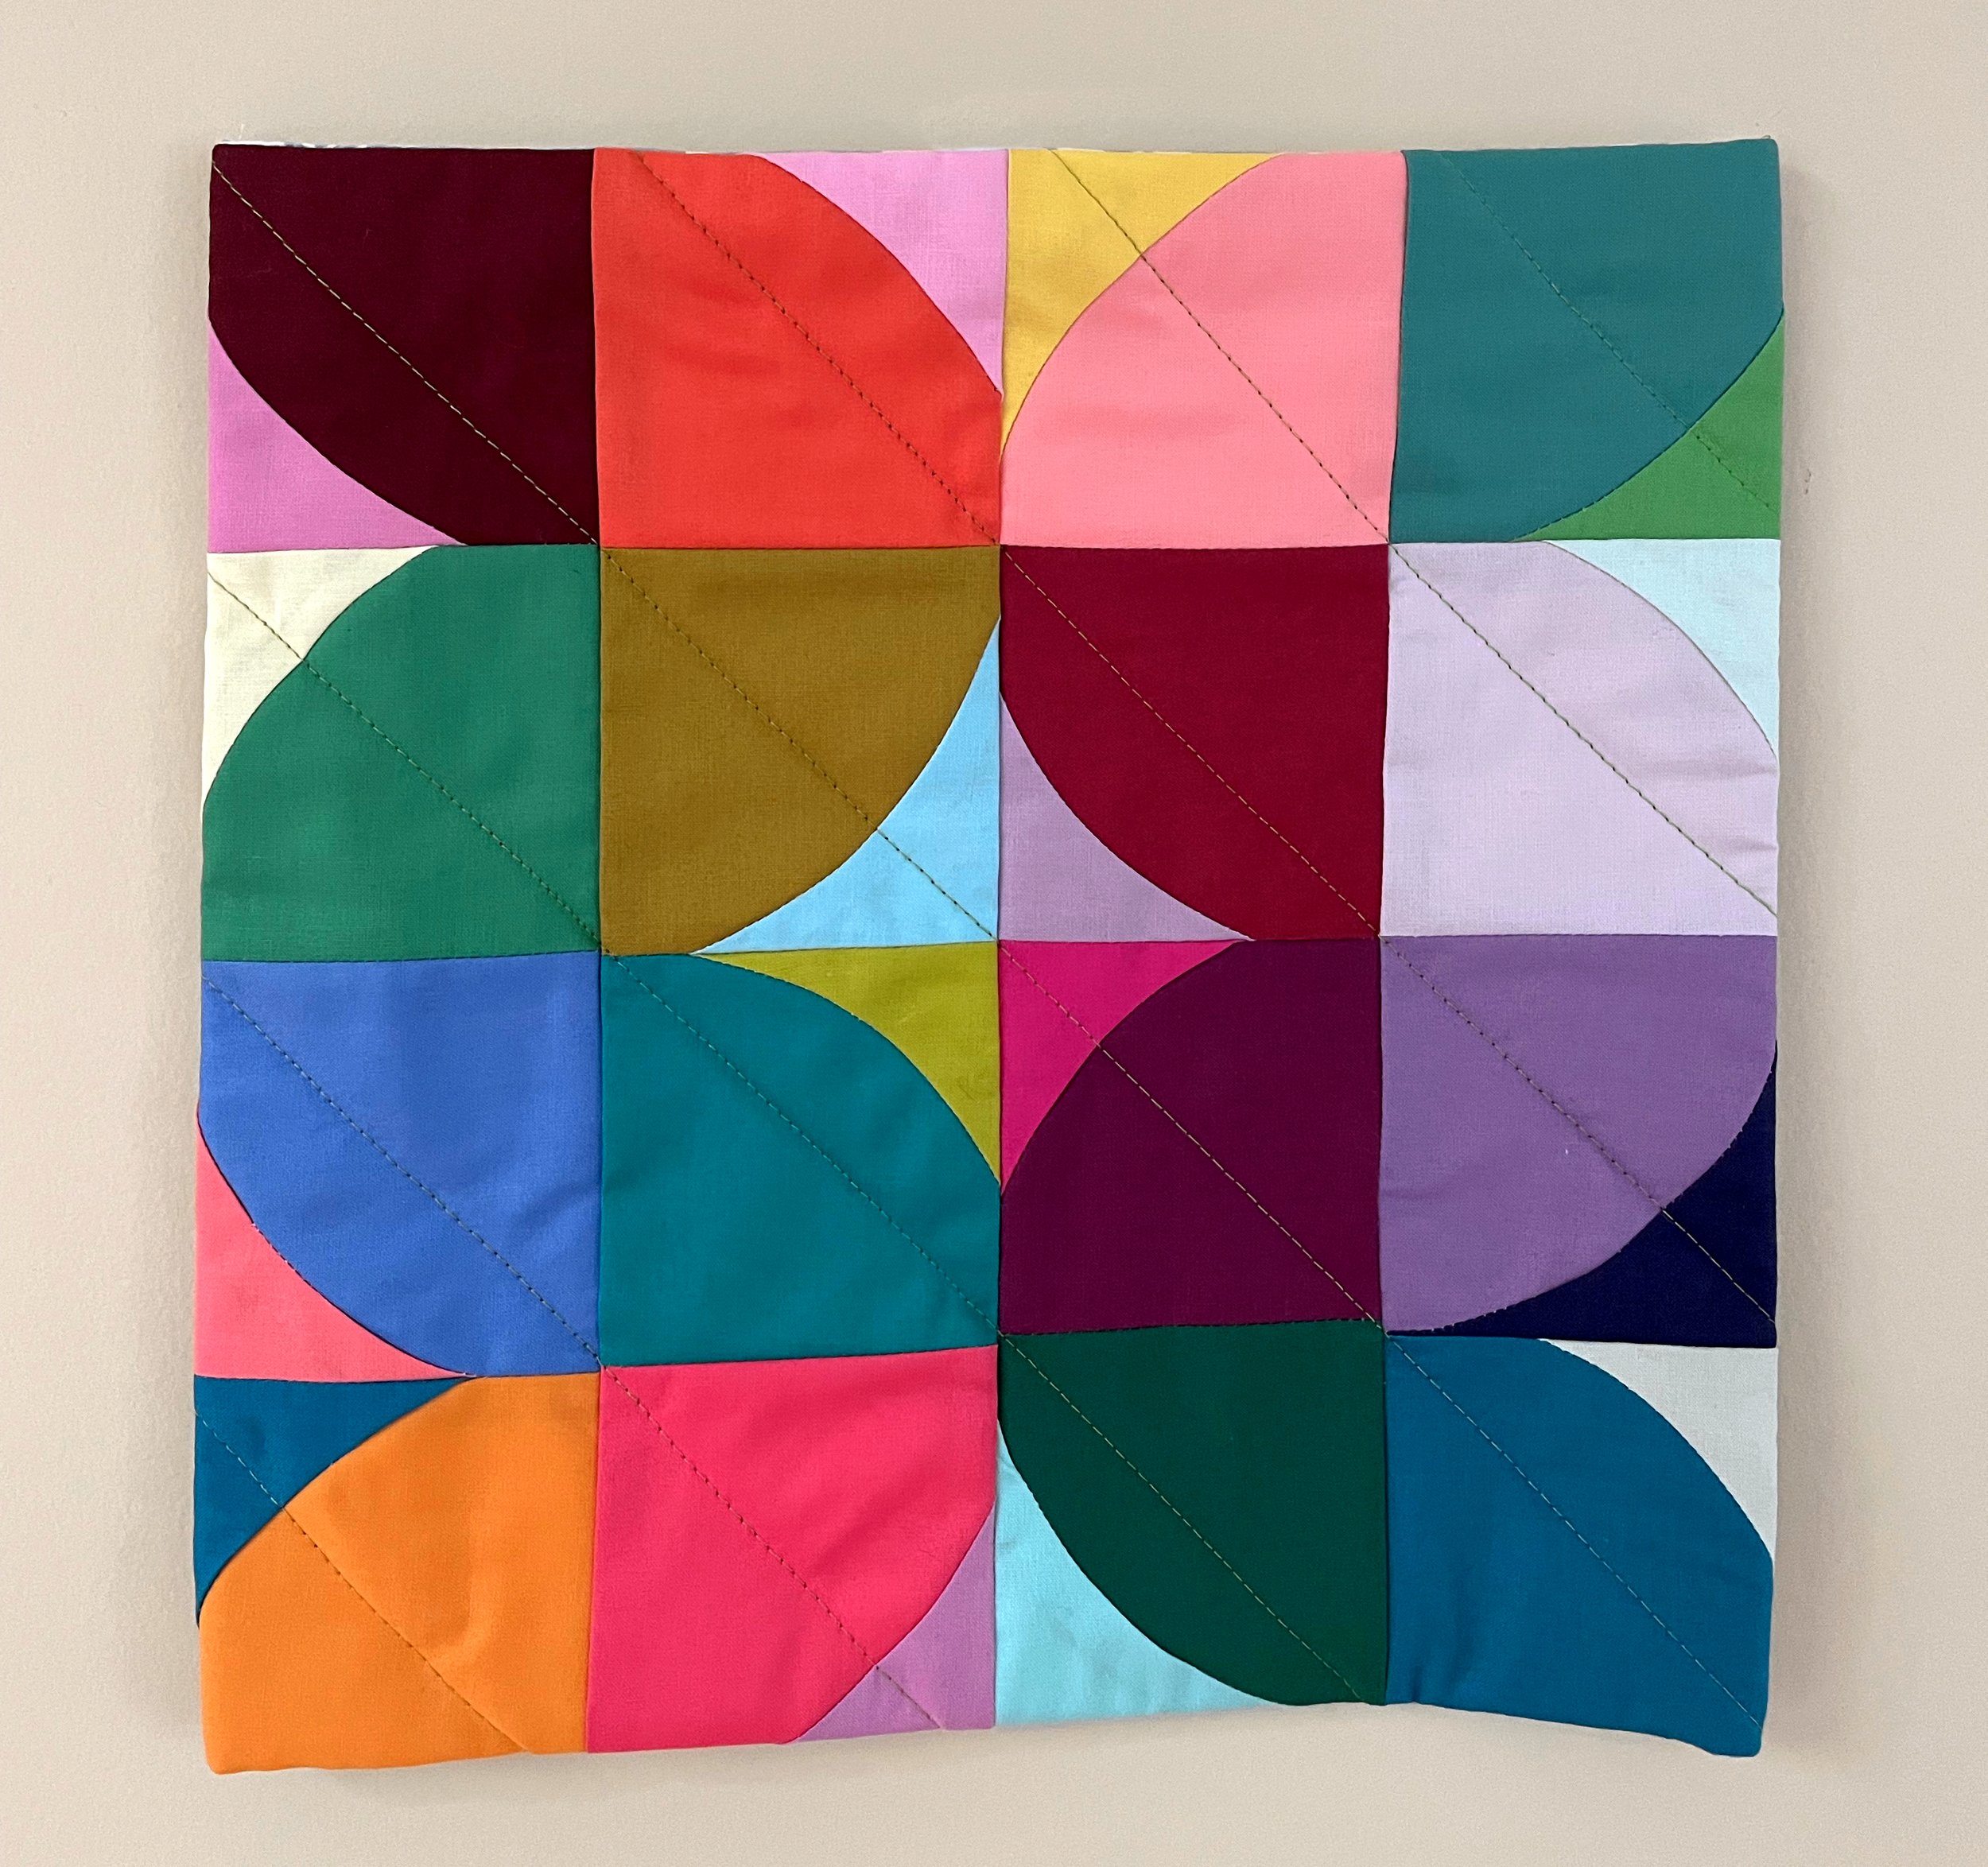
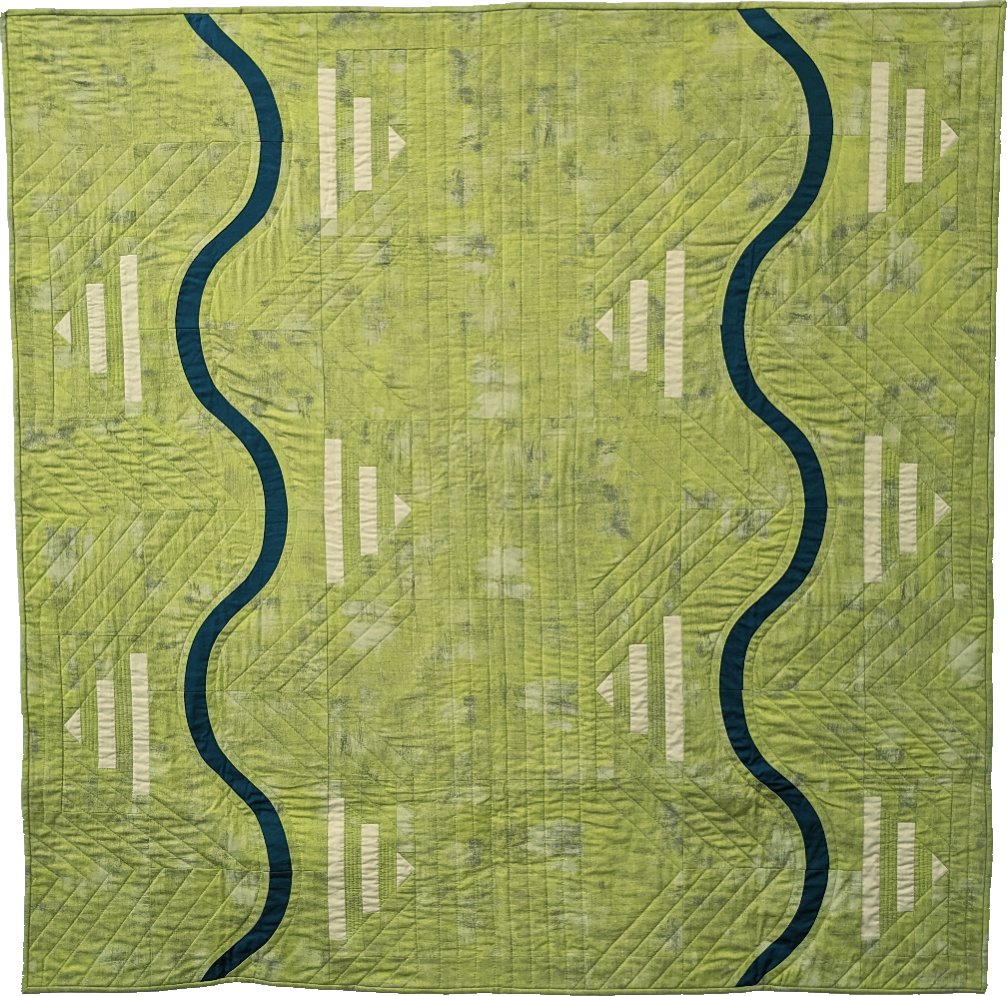
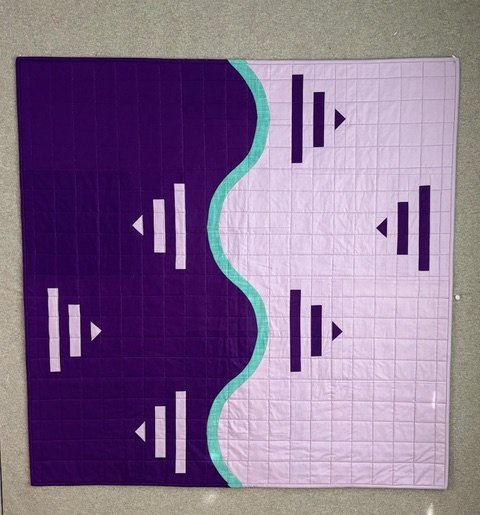
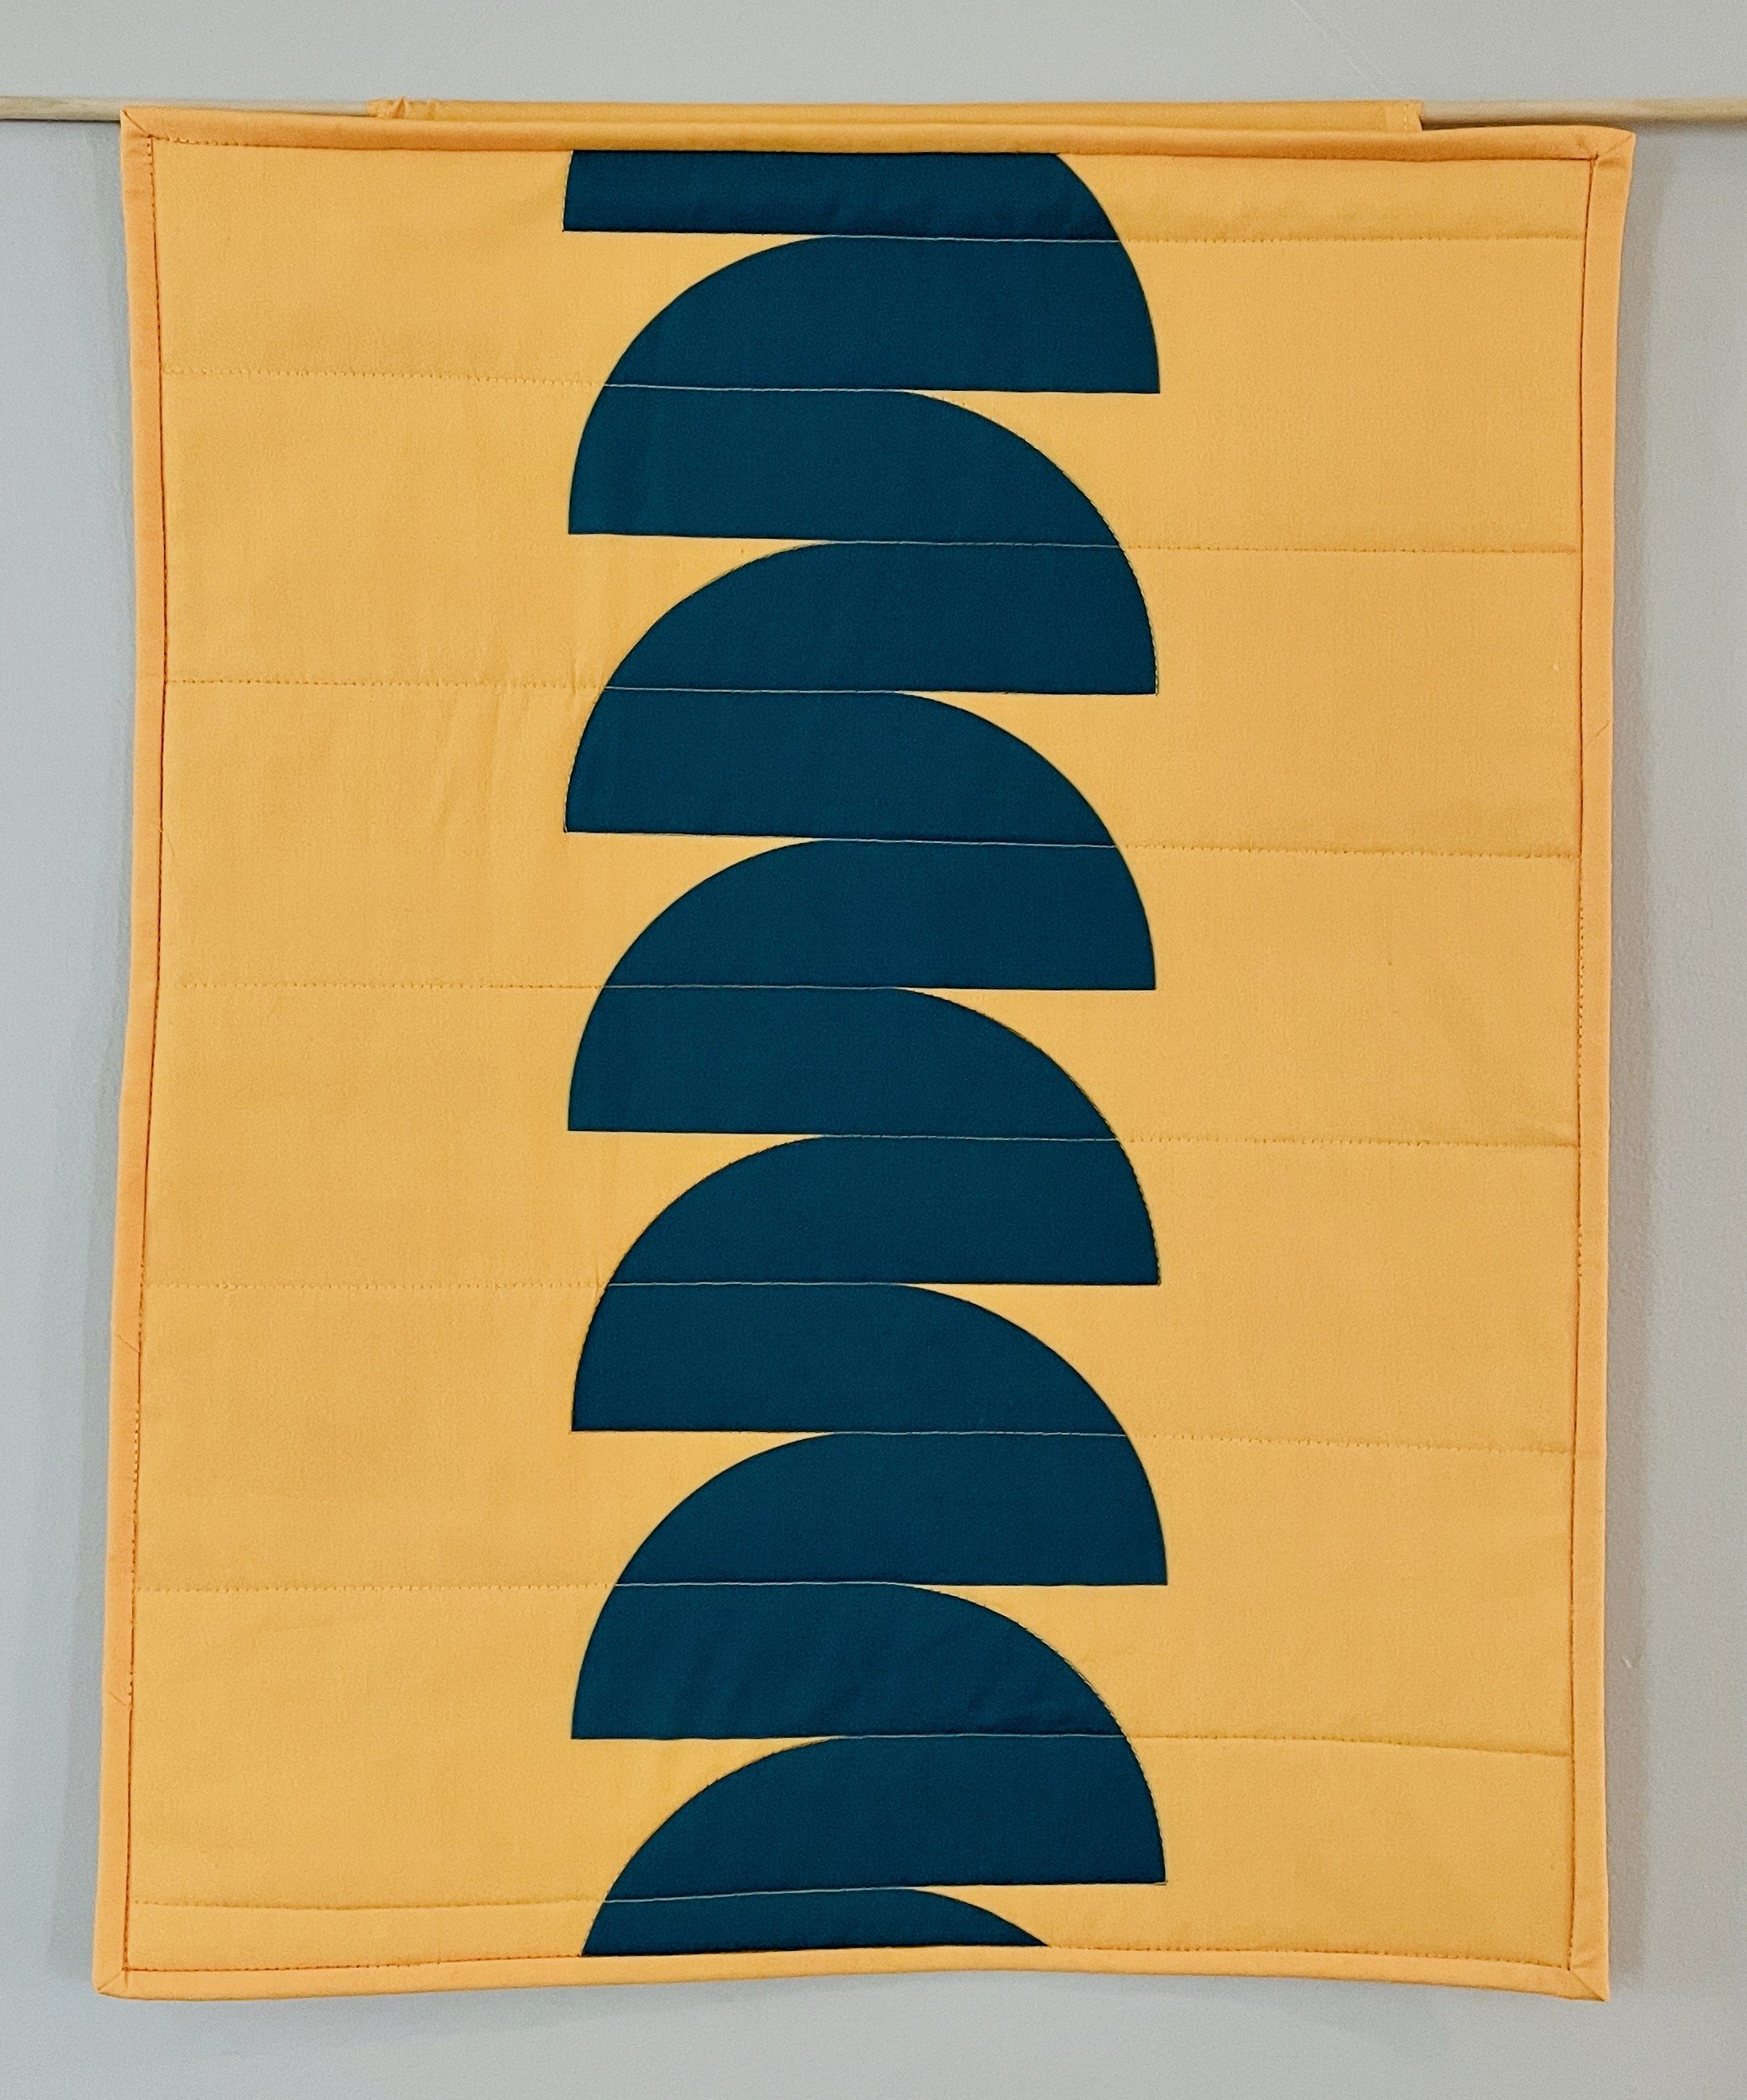
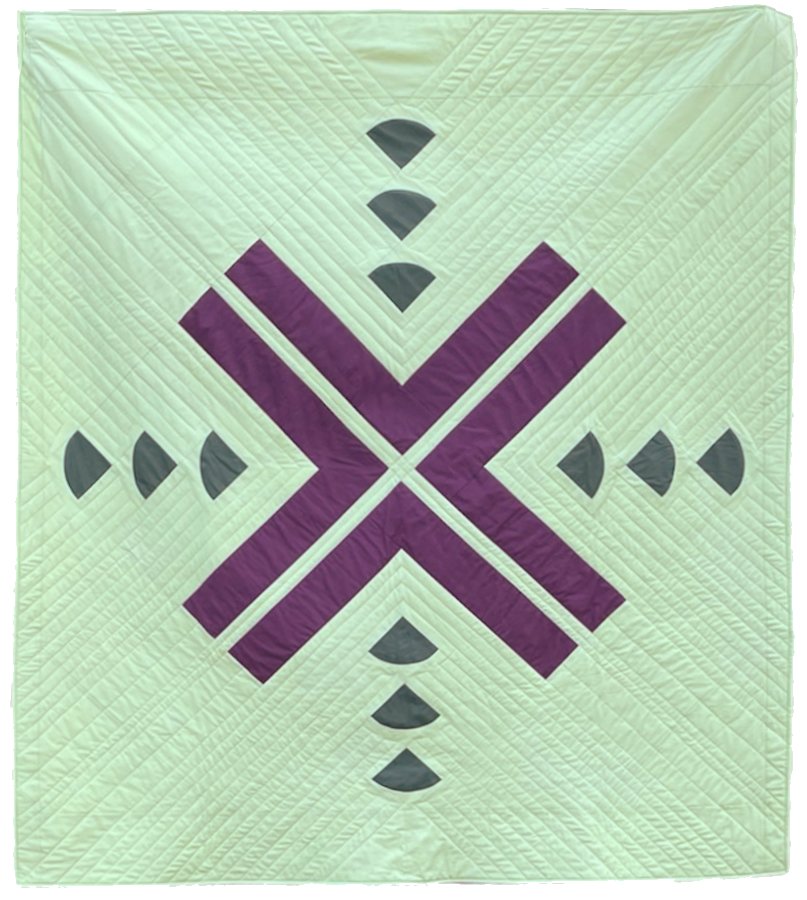
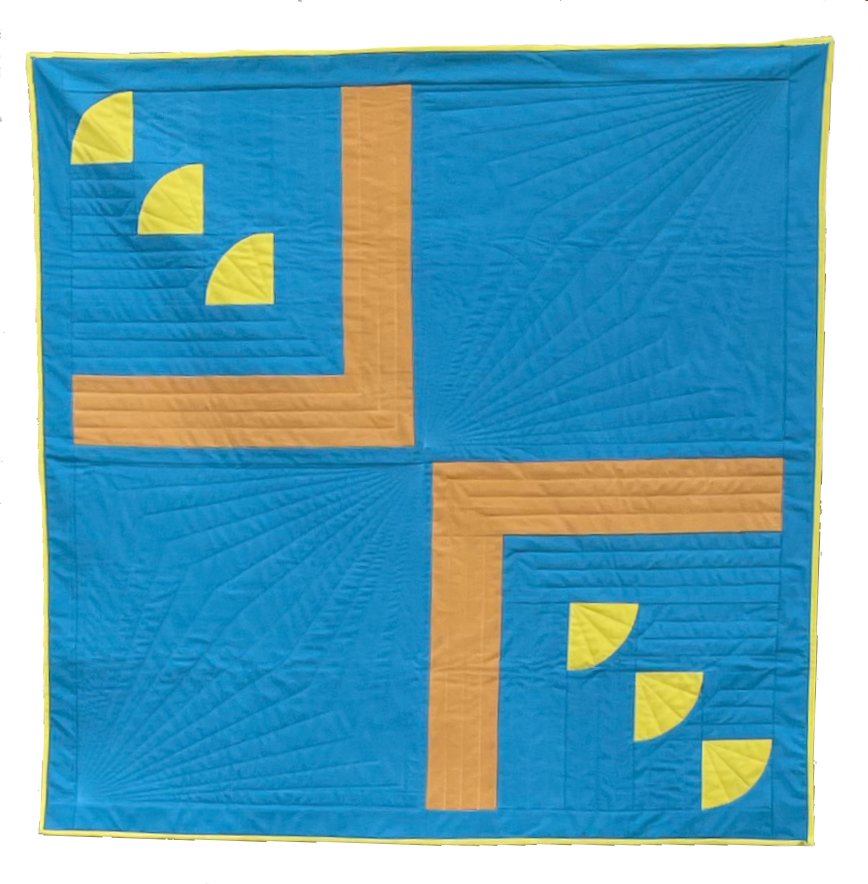
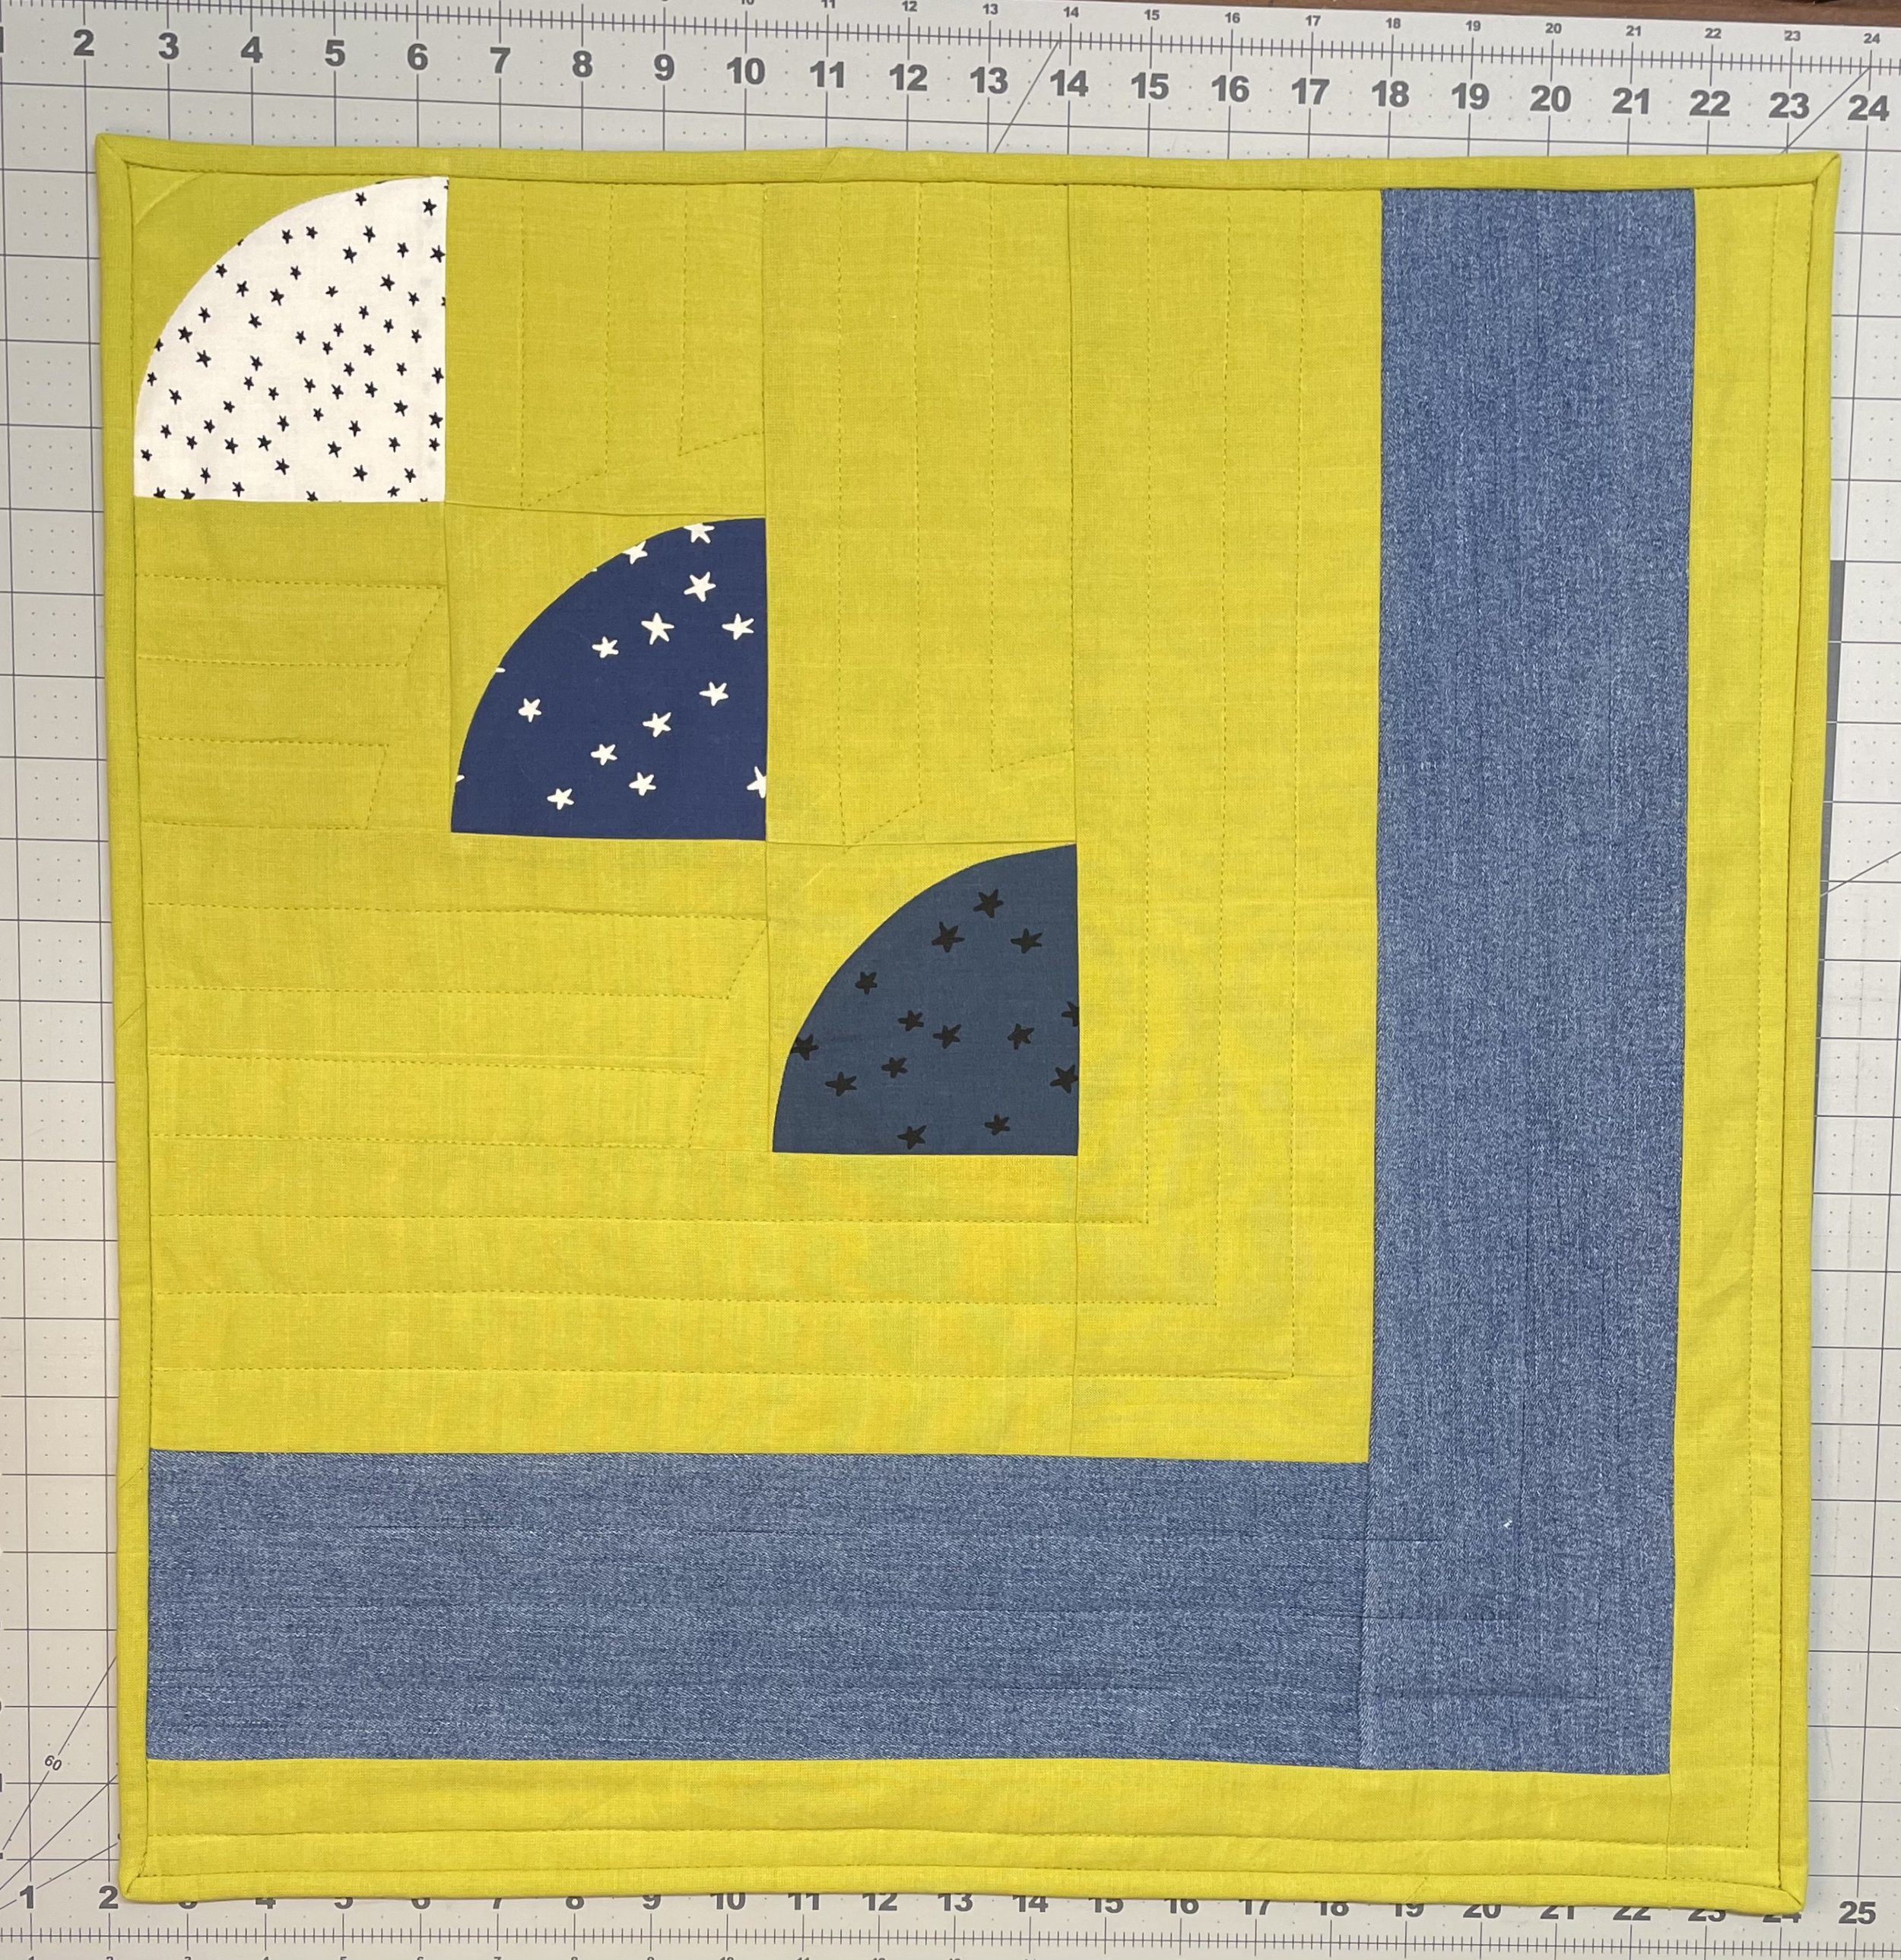
Here are some examples of very simple quilting designs - grids, straight lines, and echoes of design elements within the quilt. All are my work EXCEPT the purple one - that’s a version of my Archer quilt pattern made by Evie Landry and it’s such a great example of grid quilting!
Free Motion vs Walking Foot
Most of the quilting I do uses a walking foot and involves straight or very broadly curving lines. It fits with my aesthetic and my skill level. If you’re interested in this type of quilting, I absolutely, wholeheartedly recommend that you get Jacquie Gering’s books Walk and Walk 2.0 - they’re full of inspiration, instruction, and helpful tips. Run, don’t walk, to get those books!
That said, a whole world of incredible designs, from simple to incredibly complex, awaits you if you’re interested in giving free-motion quilting (FMQ) a try: feathers, swirls, loop-de-loops, ribbons, pebbles, swirls, flowers - if you can draw it, you can probably FMQ it!. I’ve done a little of it (see my Deco quilt below), but it’s not a technique I’ve dedicated the time to really dive into and get better at. String and Story has an online course that I’ve heard great things about!
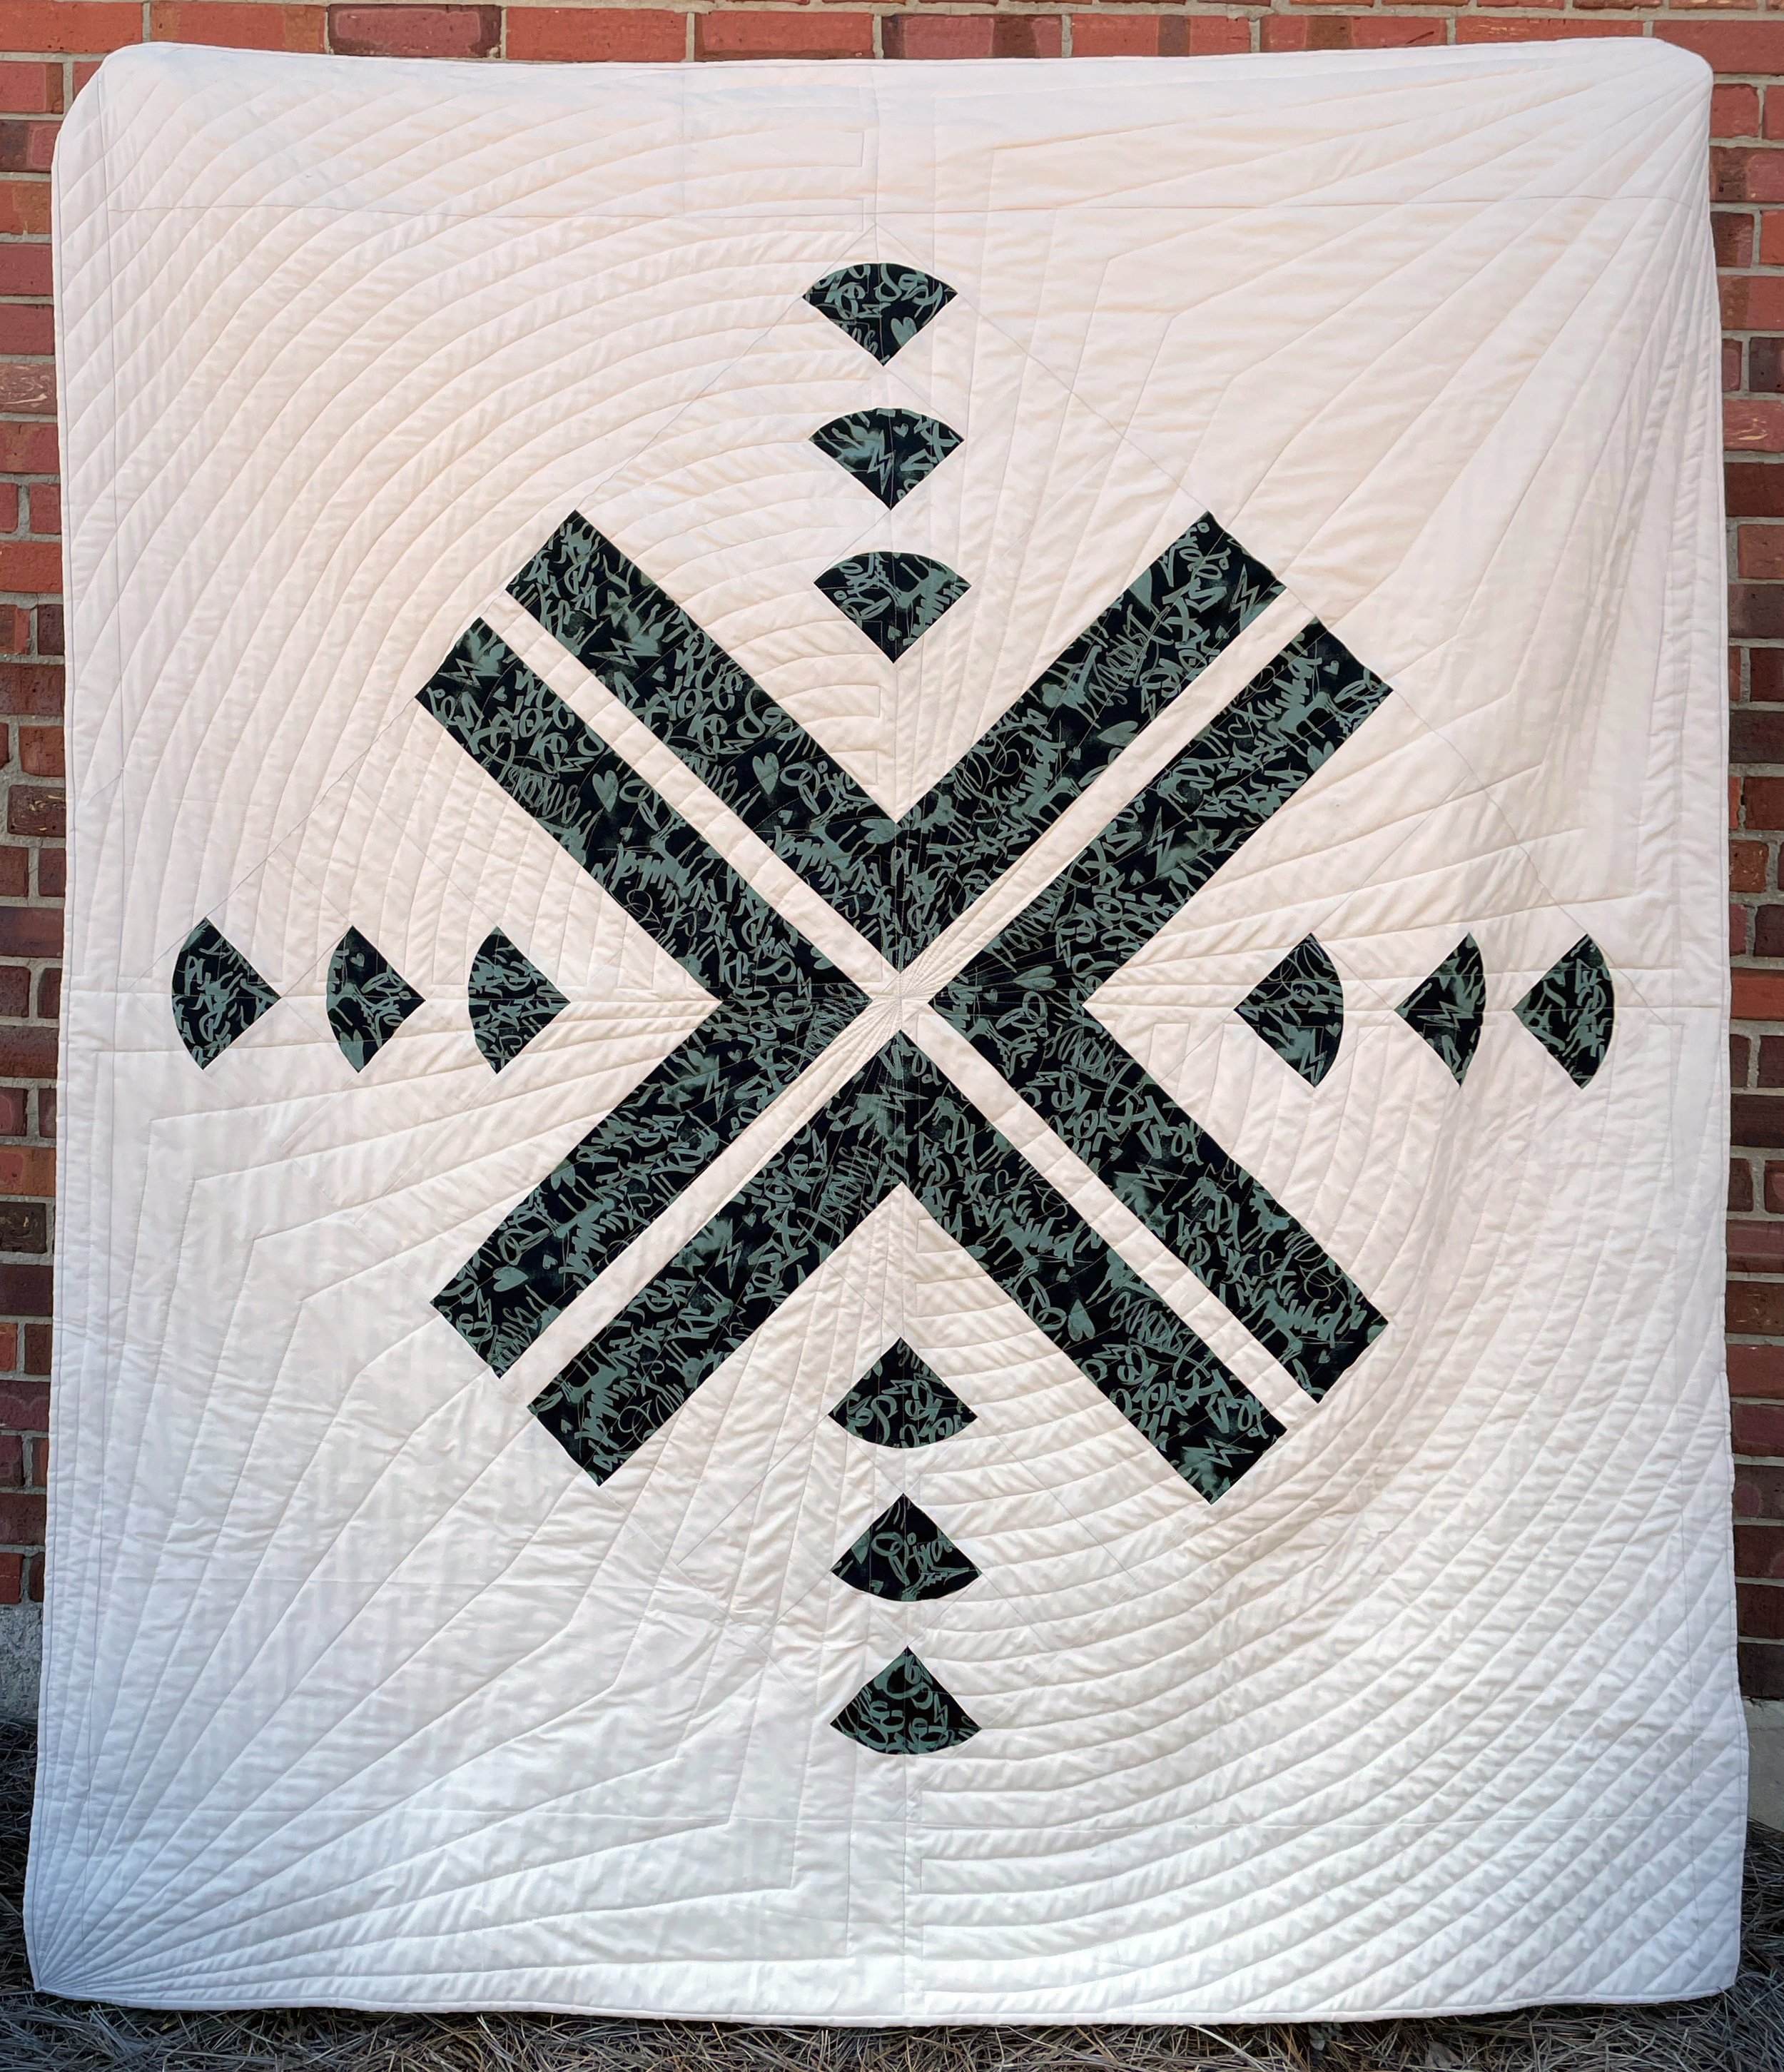
My Inbound pattern is a pretty minimalist design and I admit to being a little intimidated by all the negative space! If I loved doing detailed free motion work, it would be the perfect canvas to show that off - but I simply don’t, and I’m still thrilled with how the quilting turned out on all the samples I made:
All four samples primarily used straight lines! By the time I got halfway done with the fourth one above, I got tired of that 😆 and switched to evenly spaced curved lines in two of the quadrants (remember: you don’t have to stick to your quilting plan!).
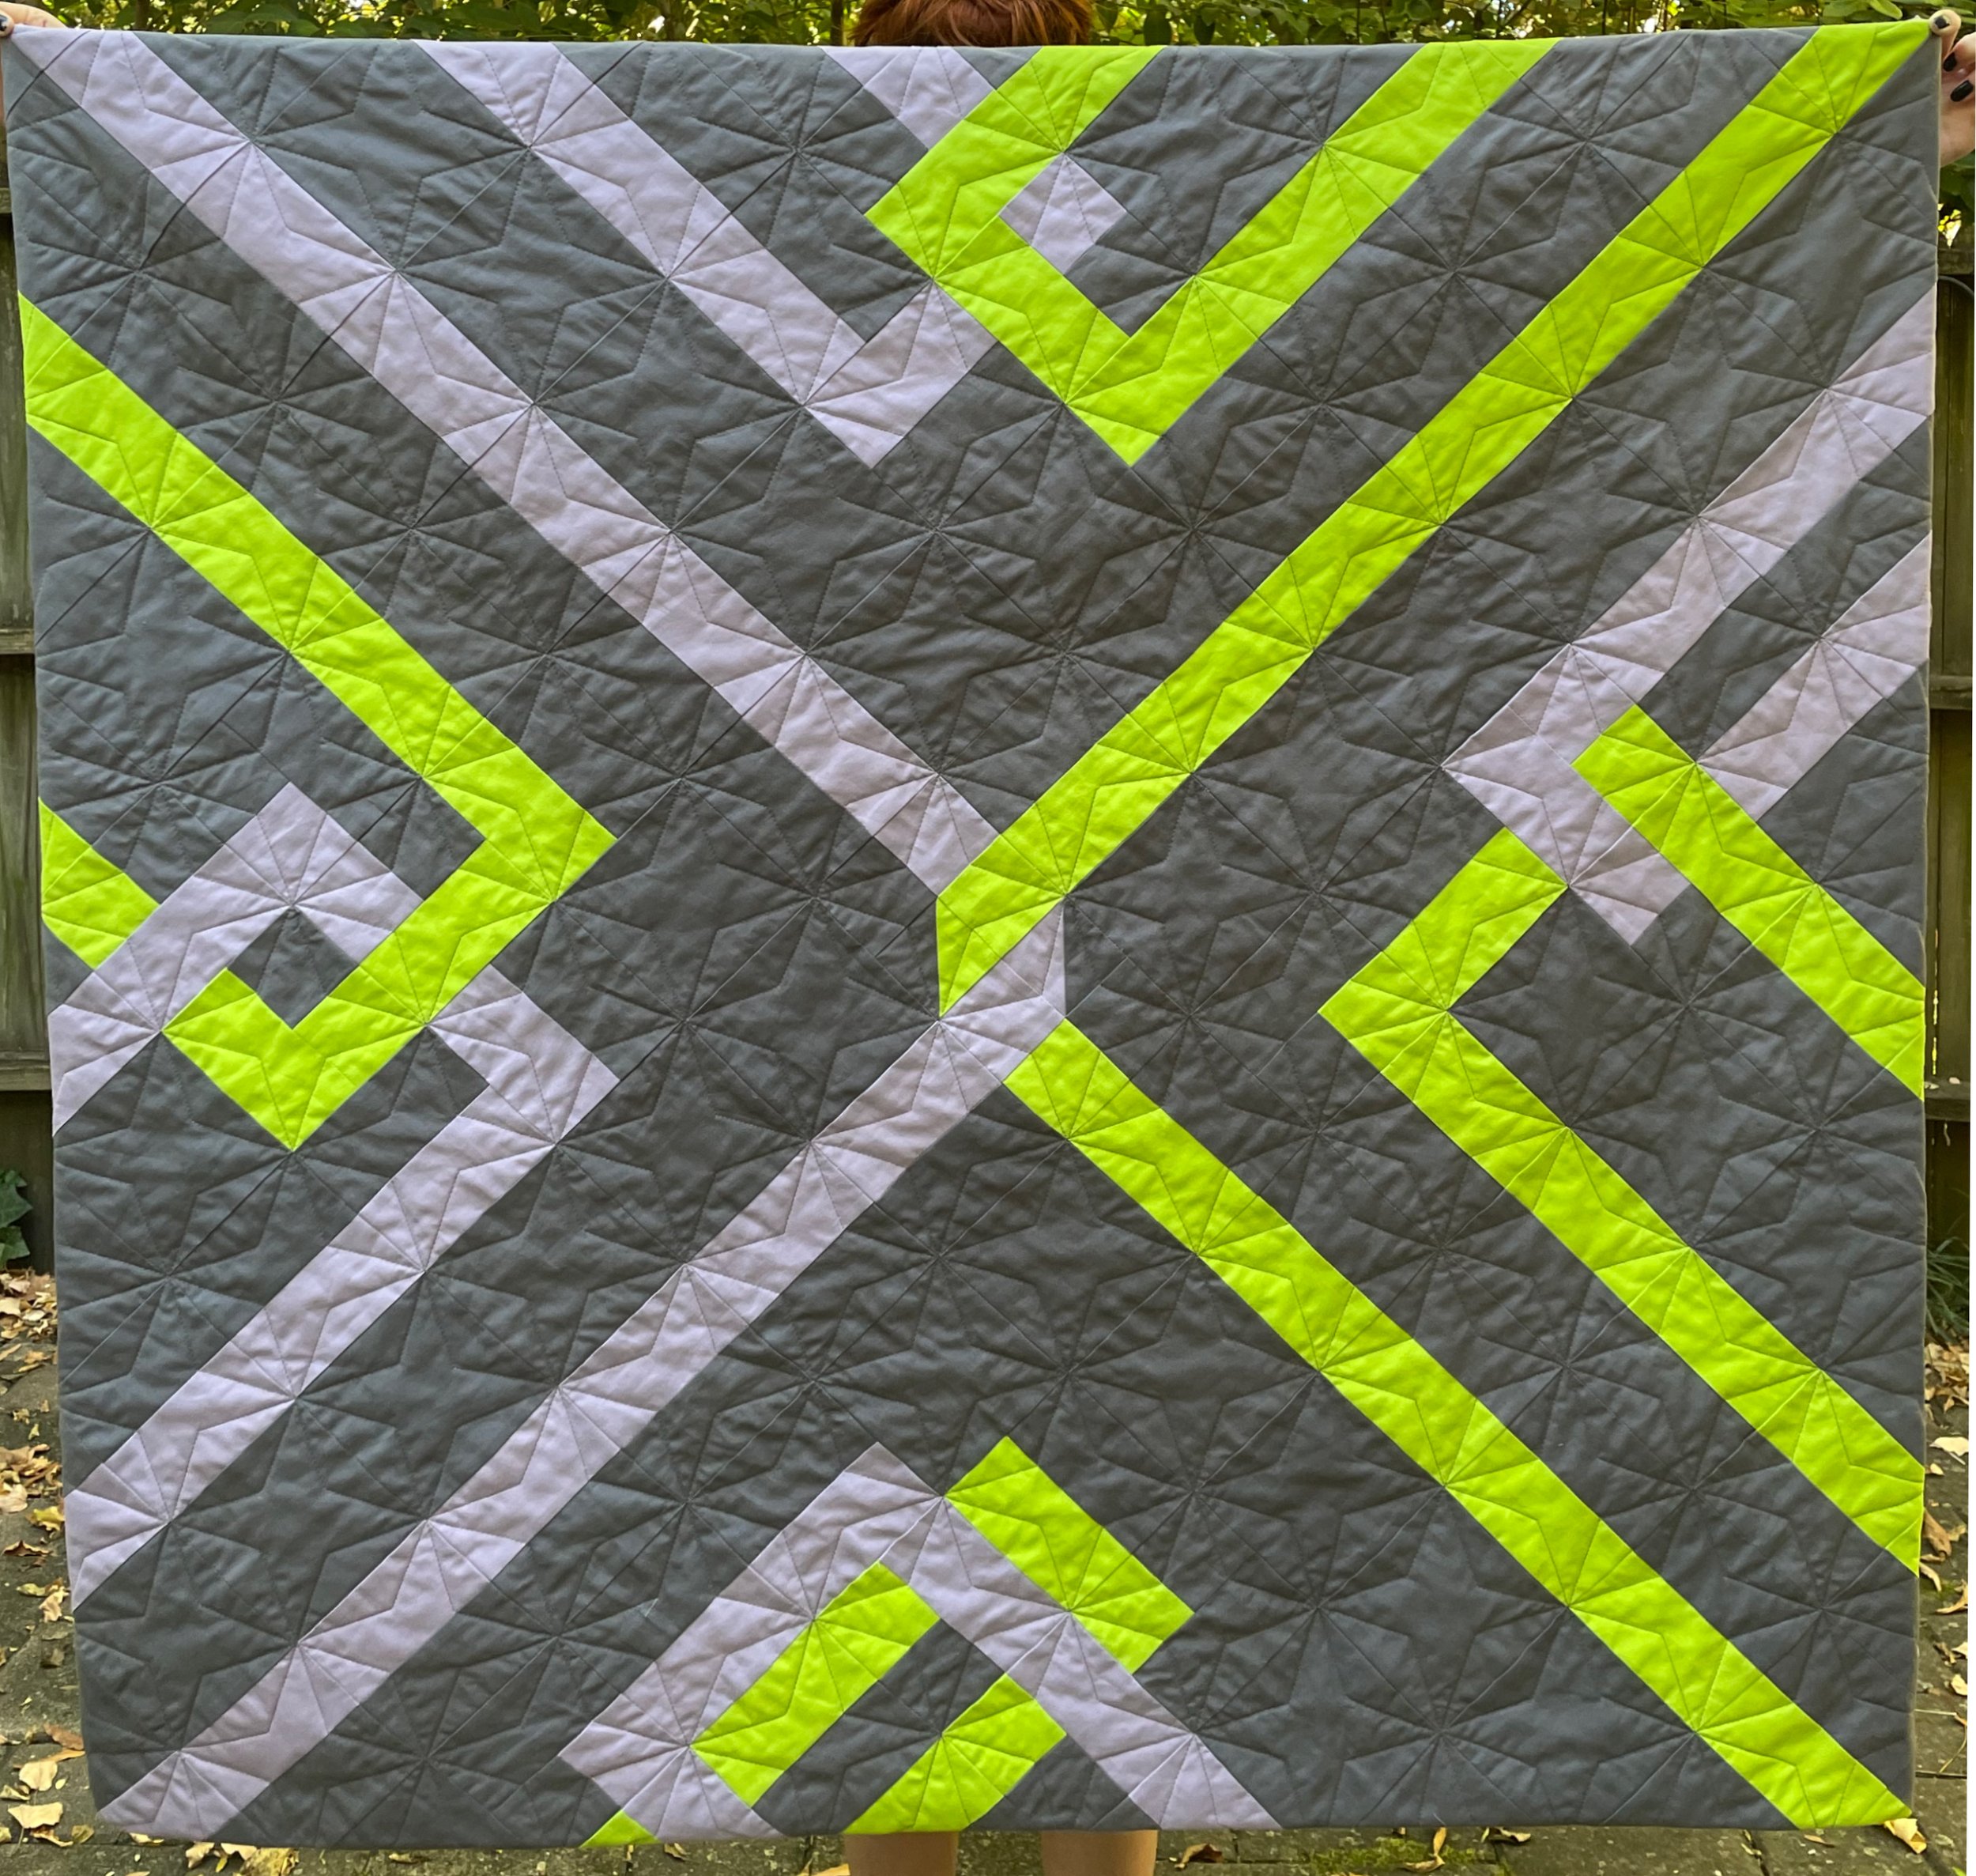
You can see in the second and fourth images above that I do have a pretty frequent go-to motif: the radiating diamond shape. It’s a great one for a square quilt or one that has clearly defined quadrants, like the Solar Flare (pattern by Alderwood Studio) quilt I made for my blue-loving Aunt Beth pictured below. I learned that technique from Jacquie Gering’s books.
You can also go with a consistent allover quilting plan, as I did on the examples below. I like to use allover quilting techniques when I’ve got a really bold design that I want to take center stage. All four below are motifs from Jacquie’s books.
This Cosmic Waterfall quilt (pattern by Sewing through Fog) uses another one of my go-to quilting patterns: basic wavy lines. No pressure to stay perfectly straight, it softens up the angles, and it creates lovely texture!
Maybe you’d like to get really custom and use multiple different motifs in different parts of the quilt!
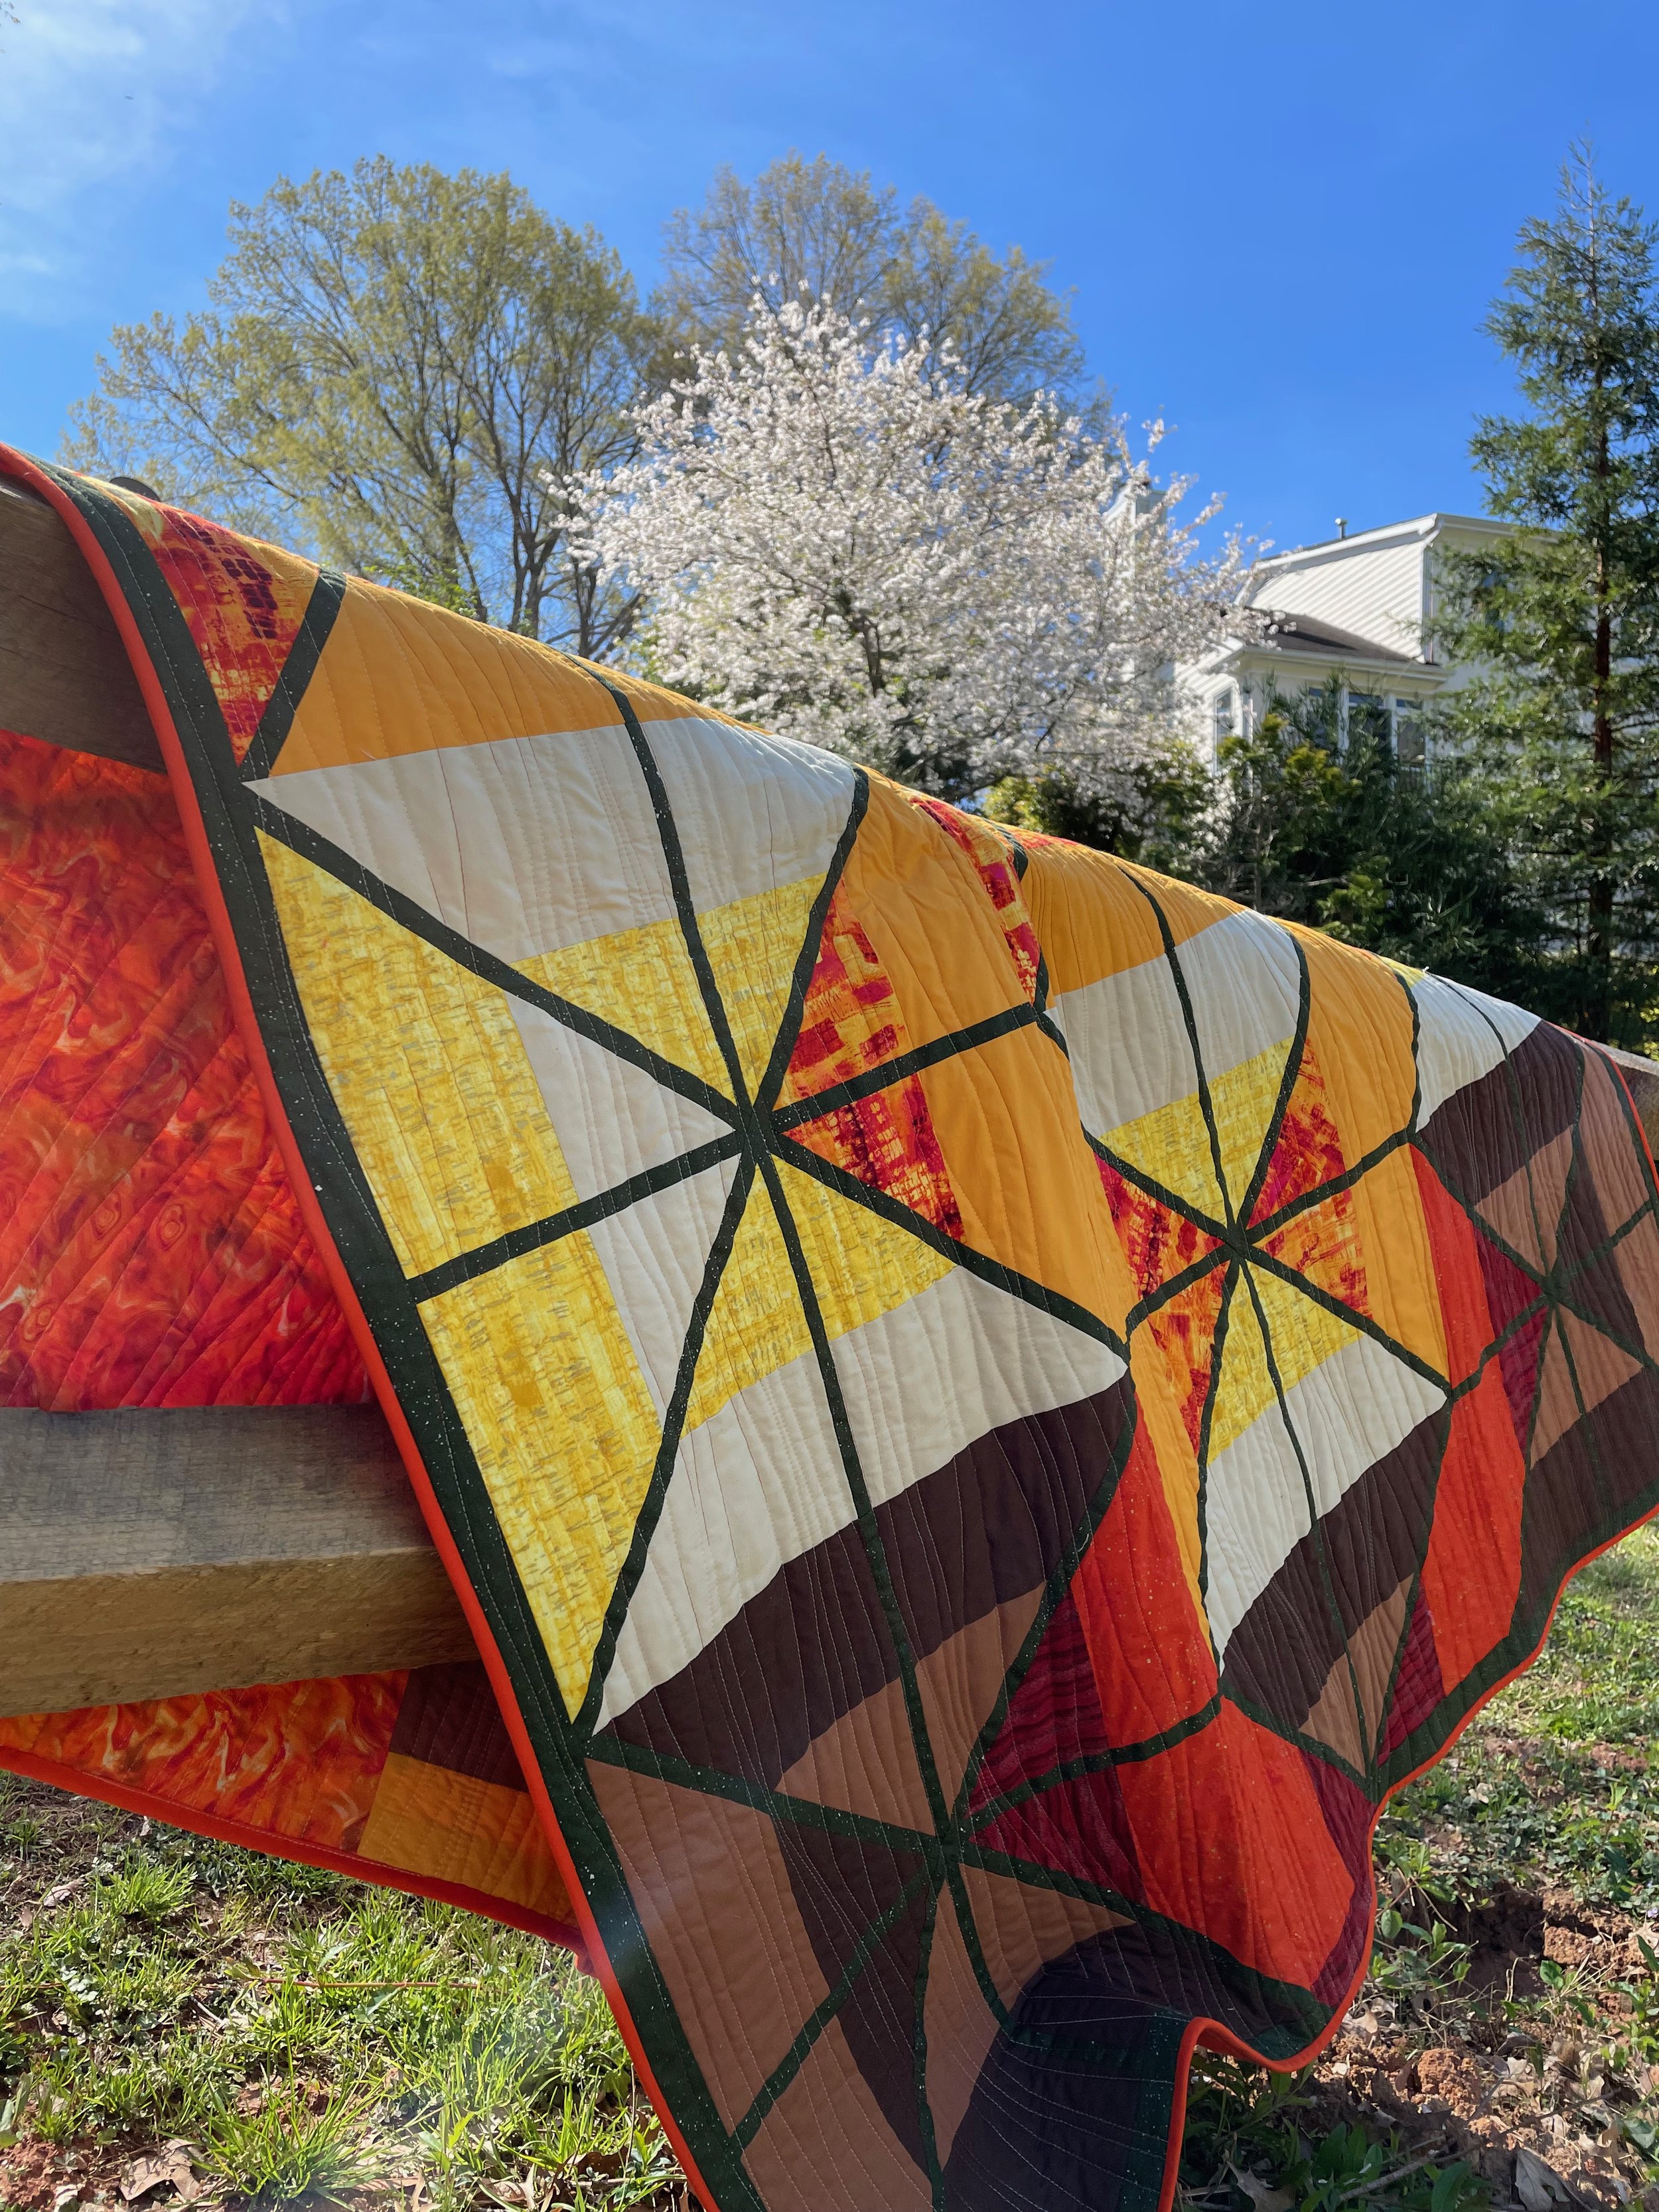
When I made my first Deco quilt (pattern by Lo + Behold Stitchery), I did just that. I stitched some radiating straight lines of varying density in most of the blocks, free motion quilted a calla lily motif in the large background blocks, and then just stitched in the ditch (quilting barely a thread’s width distance from the piecing seams) on the blocks that make up the center row.
Full disclosure: I haven’t done this varied a quilting design since 😂 It’s a lot of work, but it was absolutely worth it. I’m so proud when I look at this quilt and it definitely gets some oohs and aaahs from visitors!
A few last considerations when creating your quilting plan…
Density: the density, or spacing, of your quilting affects several variables.
Drape. Generally speaking, the more dense your quilting, the less drapey it will get. Really tightly spaced lines of matchstick quilting can be an awesome, wonderfully modern design choice, but if you’re wanting something to really snuggle under, you might want a more spaced out design.
Durability & Use. If your quilt top has a lot of little pieces and/or it will be washed a lot, you’ll probably want a bit denser quilting pattern, to help keep all those pieces together. On the other hand, if your pieces are really large or you’re making a whole cloth quilt, or one that will only ever hang on a wall, you can get away with more spaced-out quilting.
Batting. Check the package and manufacturer’s recommendations - usually they will tell you the maximum space that should be left unquilted. I generally try not to have any area bigger than my full handprint devoid of quilting.
Thread! This could absolutely be a blog post unto itself, but if you’re itching to get started, just a couple things to keep in mind:
Weight. Thicker thread will show up more (and thread weight is designated by numbers: the smaller the number the thicker the thread). I generally use 40 or 50wt thread in both the needle and bobbin.
Color. If you’re not sure what color to go with, unspool a foot or two of a few different options across your quilt top - often a color will look different when it’s just a single strand vs holding the entire spool up to the top. Neutrals can be a great option if you’re not sure - off white or pale grey have served me well many times on a mulitcolored quilt. My absolute favorite, though, is to use variegated thread, which changes color over the length of the strand. Usually it will be multiple shades of a single color, though sometimes you can find a multicolor variegated thread too! My Sowing the Seeds of Love quilt used multiple different variegated threads for the quilting. They really show up against the black background!
What are some of your favorite quilting techniques? Motifs? Do you outsource to a longarmer? Let me know in the comments!
Hopefully you’re a little less flummoxed by the “quilt as desired” instruction now - remember, the only rules are the ones you make, and I believe in you!


